Setup Device
Connect a device, initialize it and align the microscope.
Starting the application
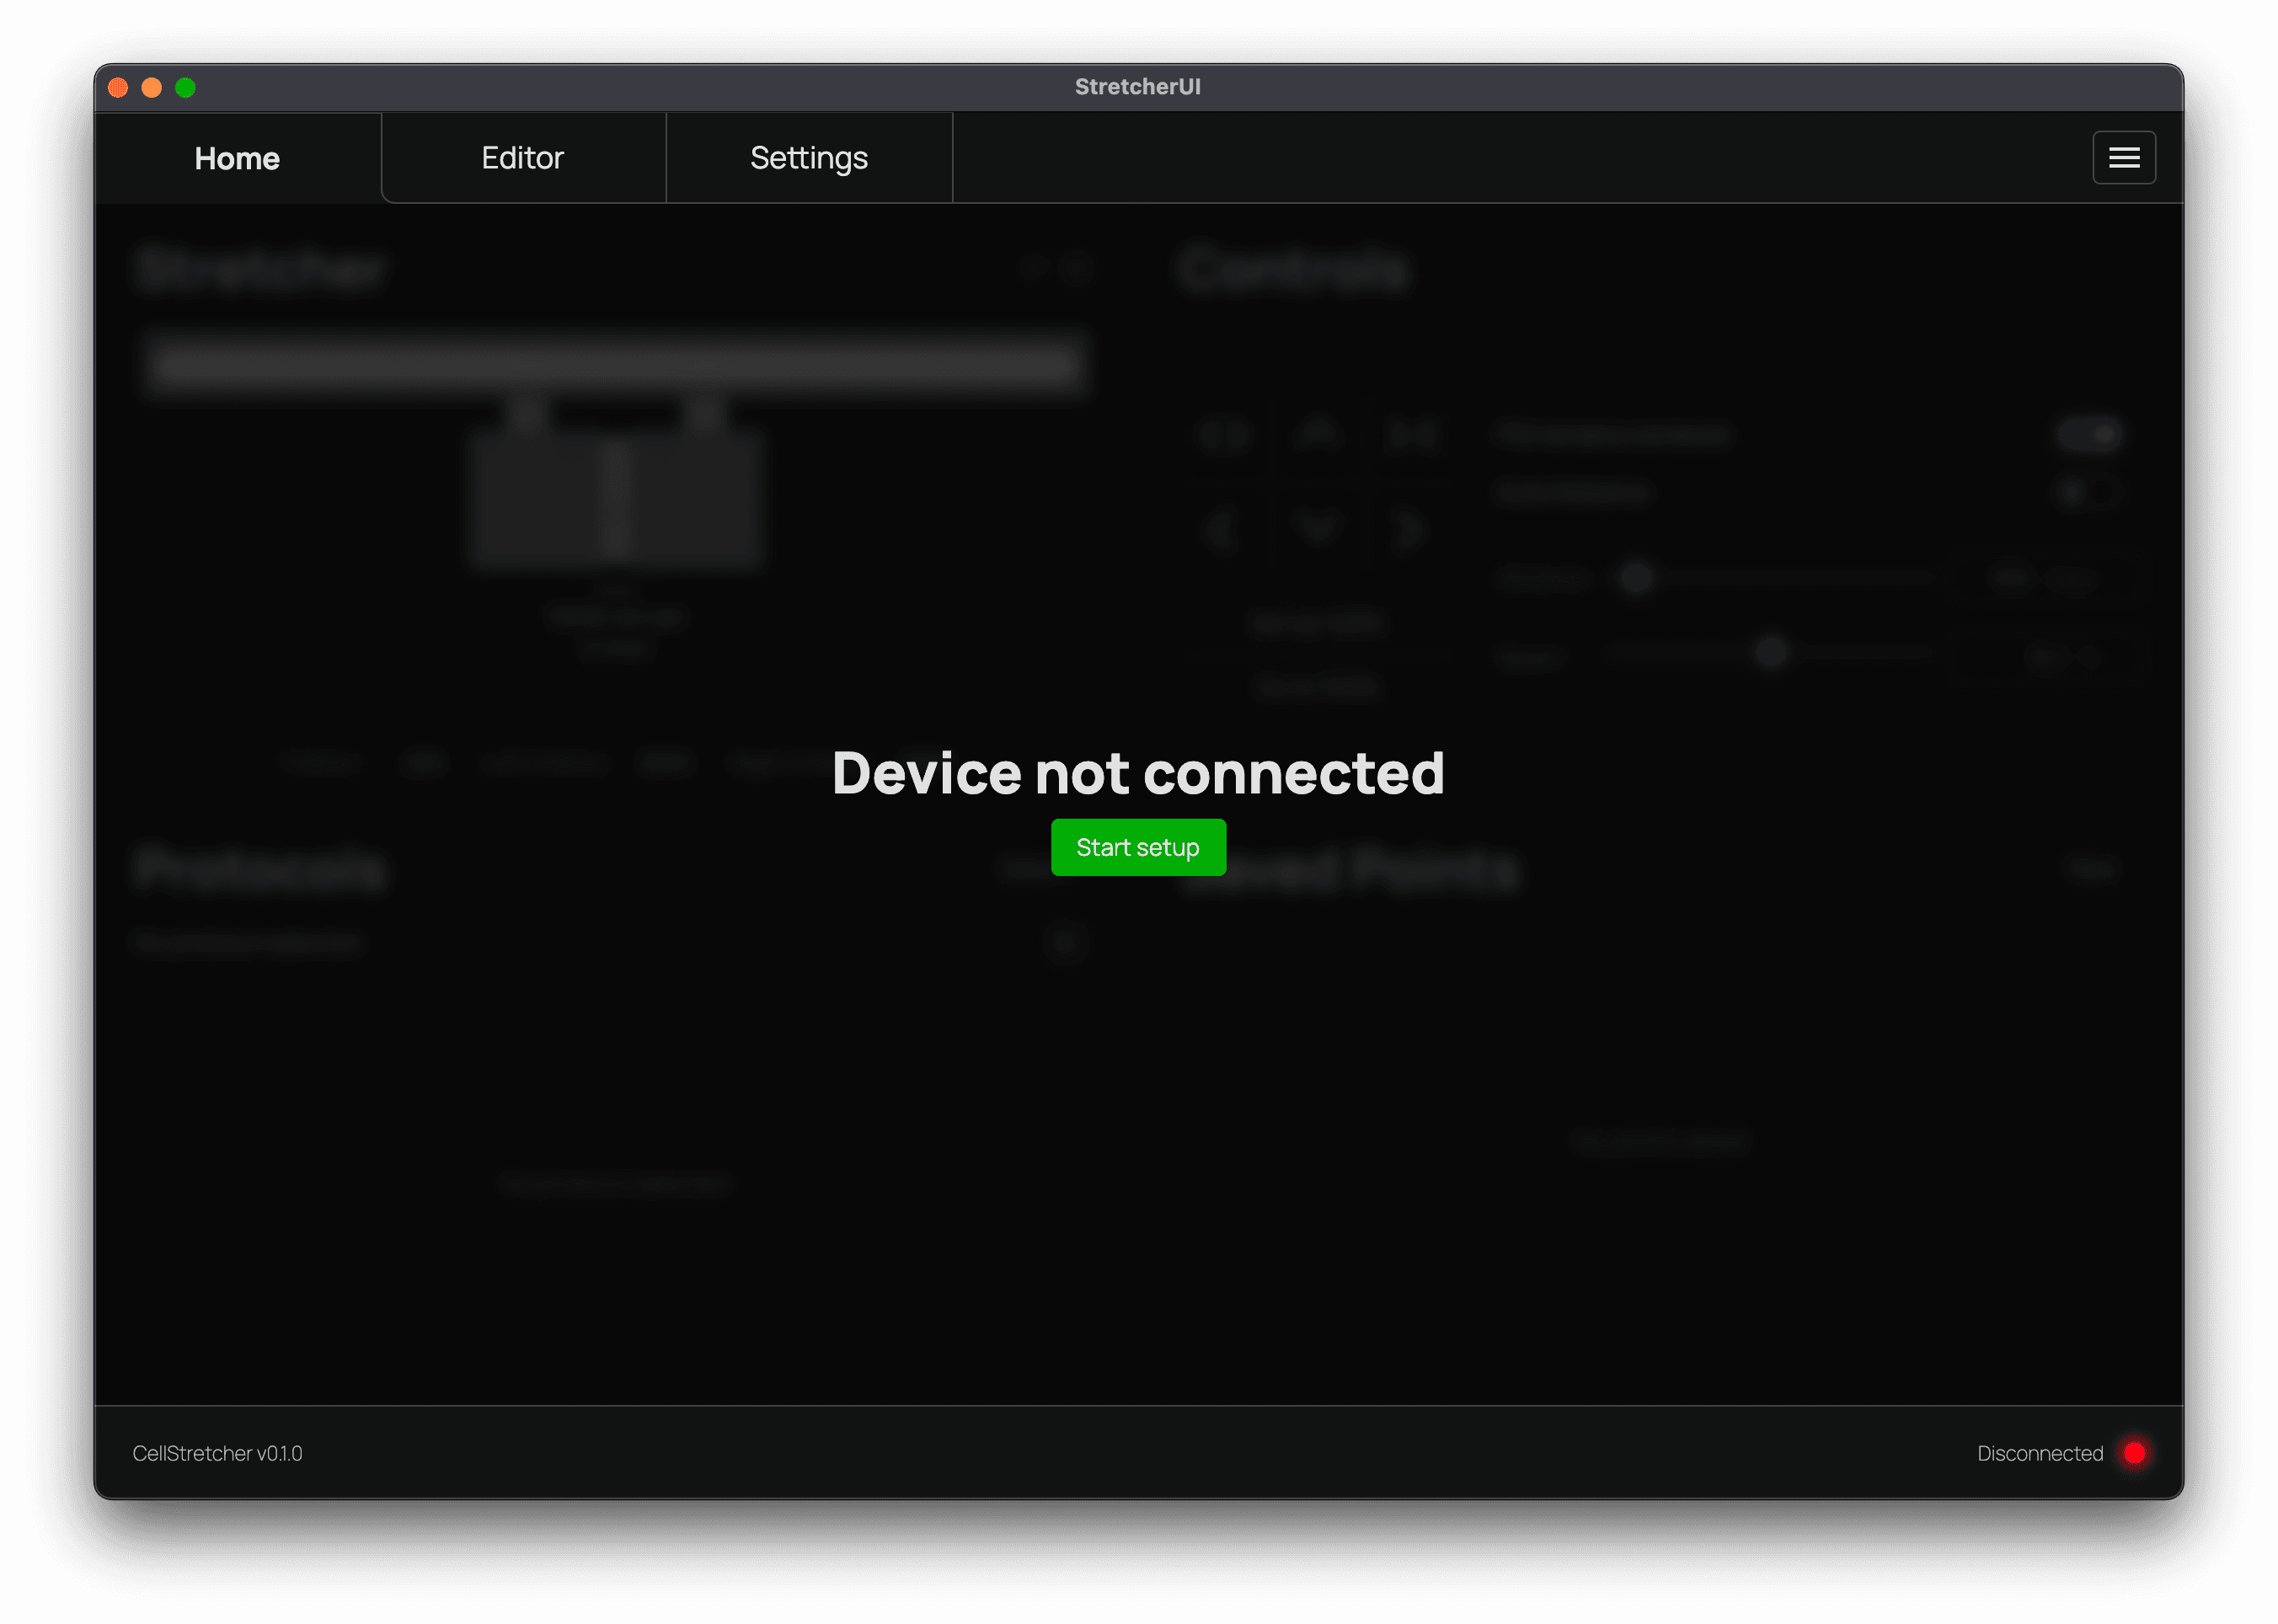
After starting the application you will be prompted with the "Device not connected" screen. This indicates that the software is correctly running, and you can continue with the setup.
Connecting a device
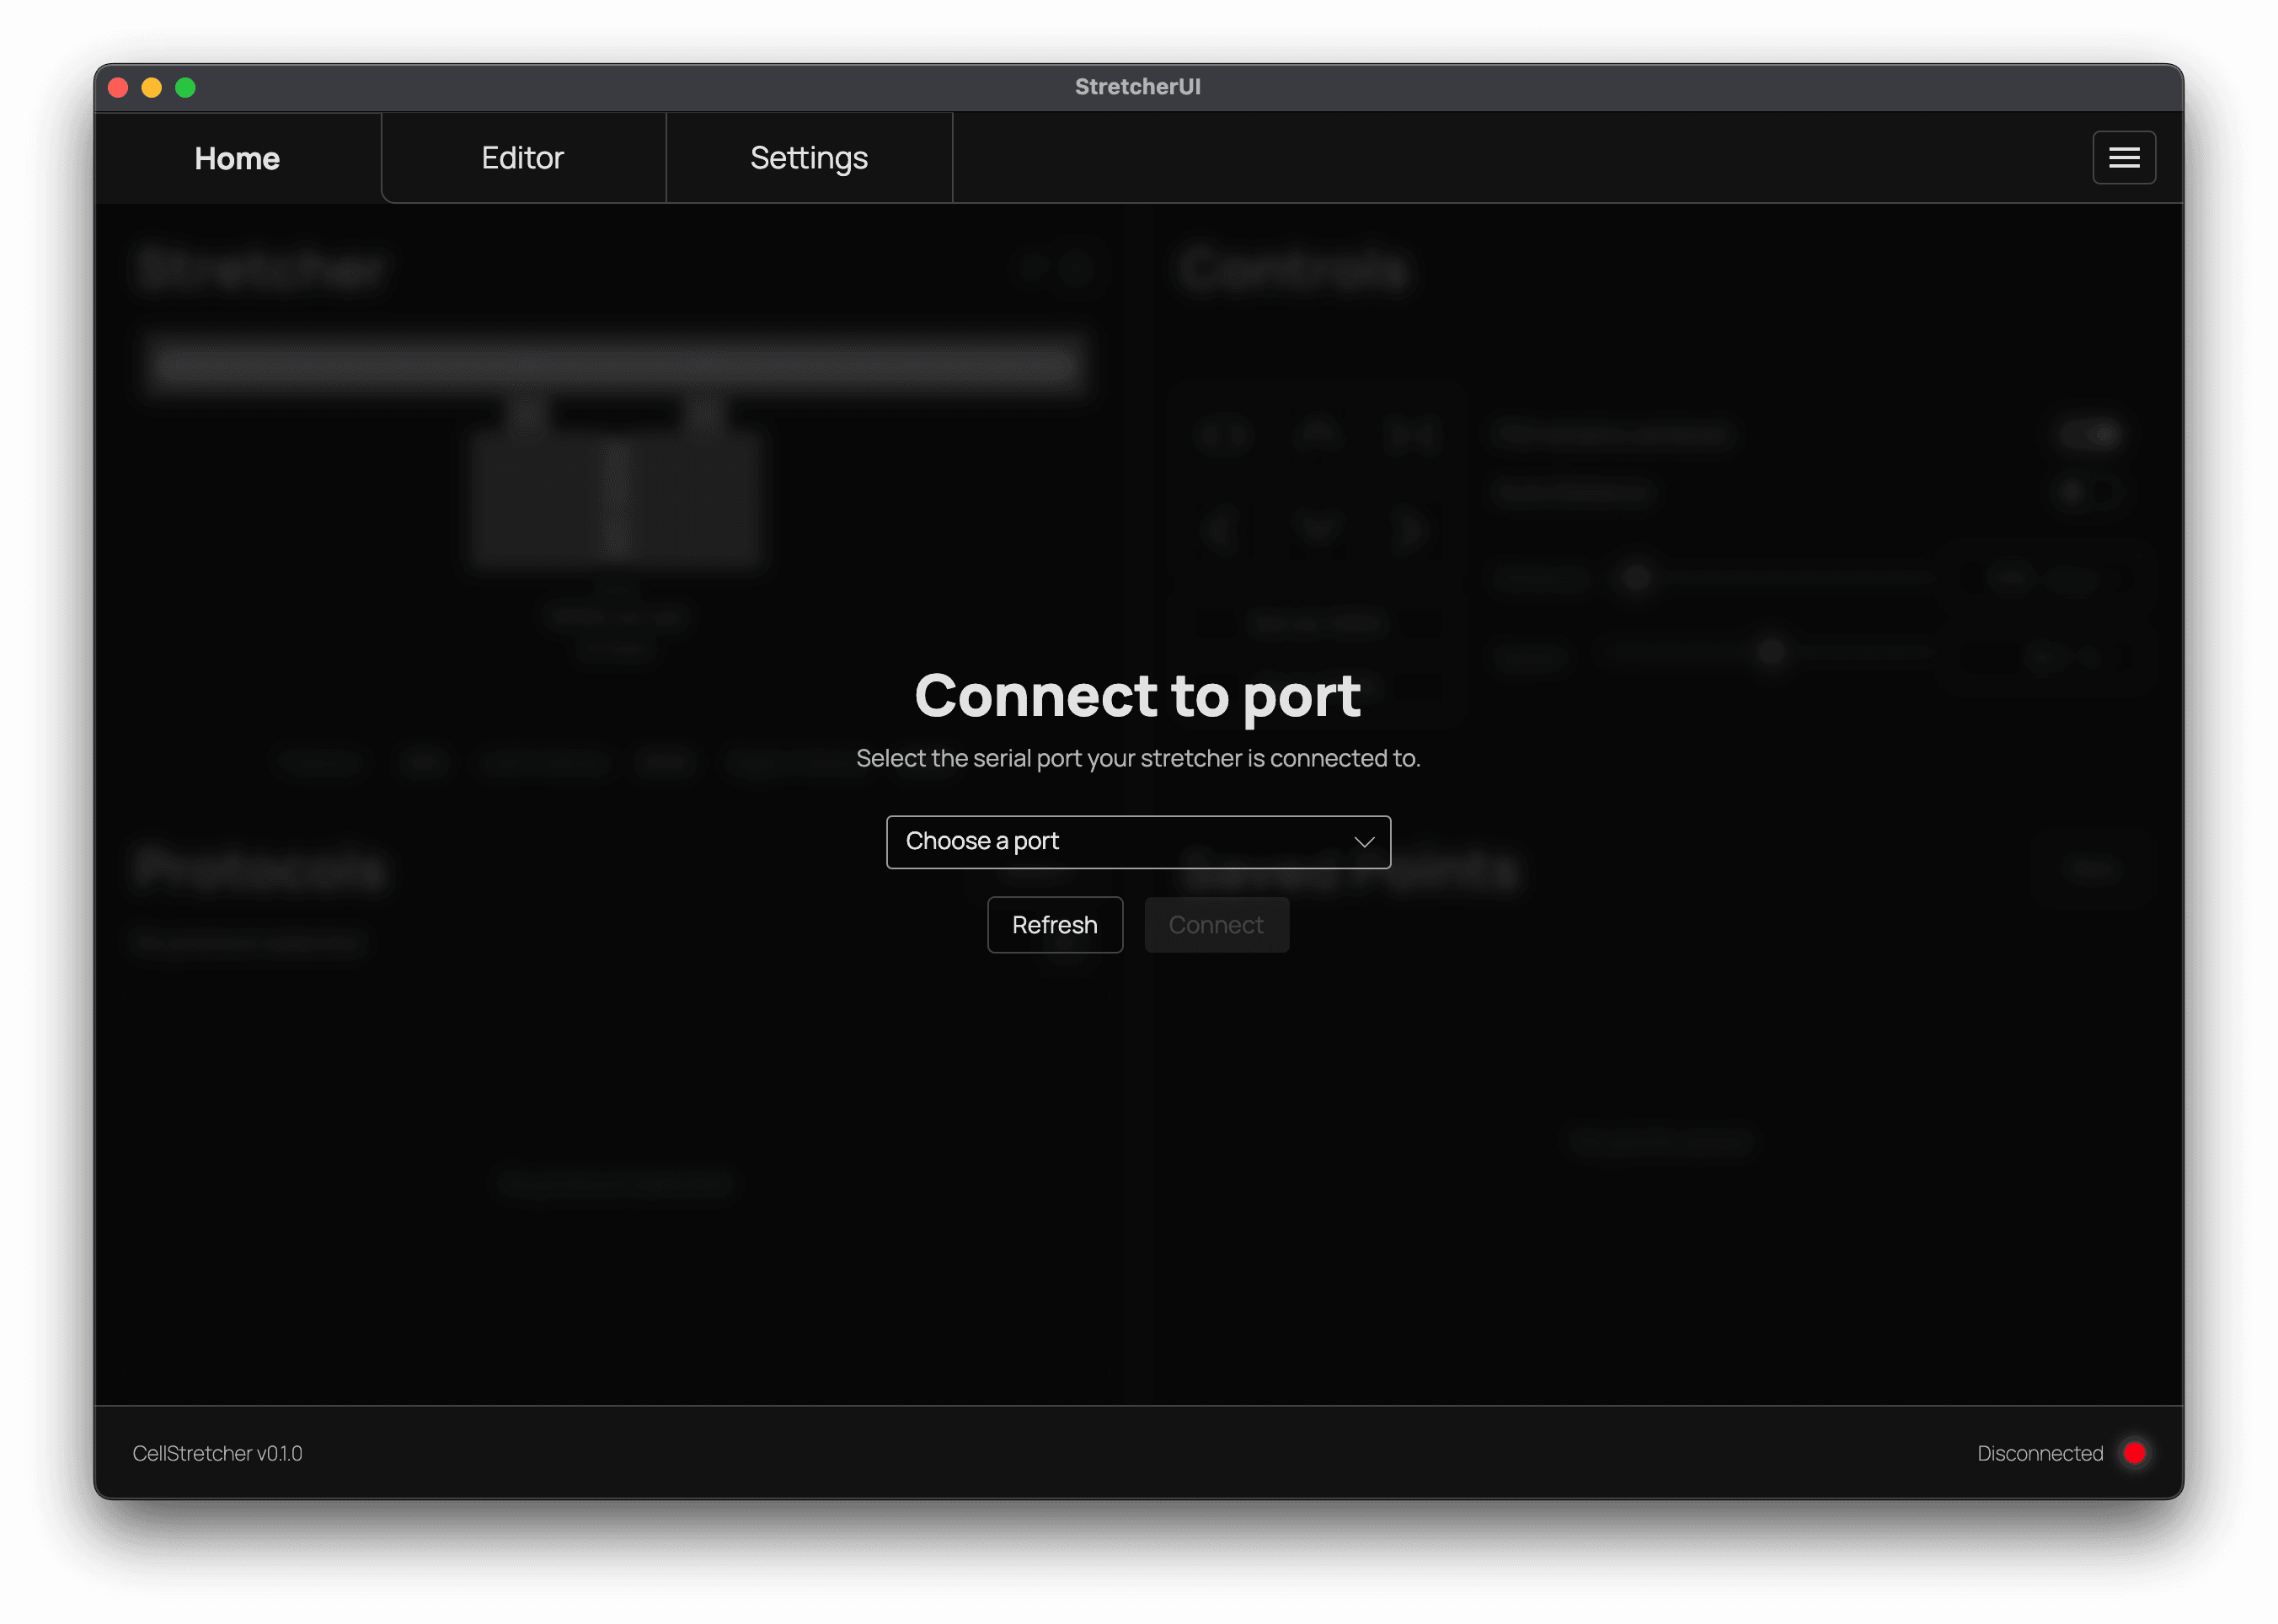
Press continue to reach the screen where you select the device you want to use. If no devices appear, try unplugging and replugging the USB cable, then press refresh. Once your device shows up, select it from the dropdown and press connect.
Once connected, what happens next depends on the device's state. If this is the first time you connect to a device that was disconnected from its power supply, you are shown the "Device not initialized" screen. If the device was already initialized, you are taken straight to the home tab.
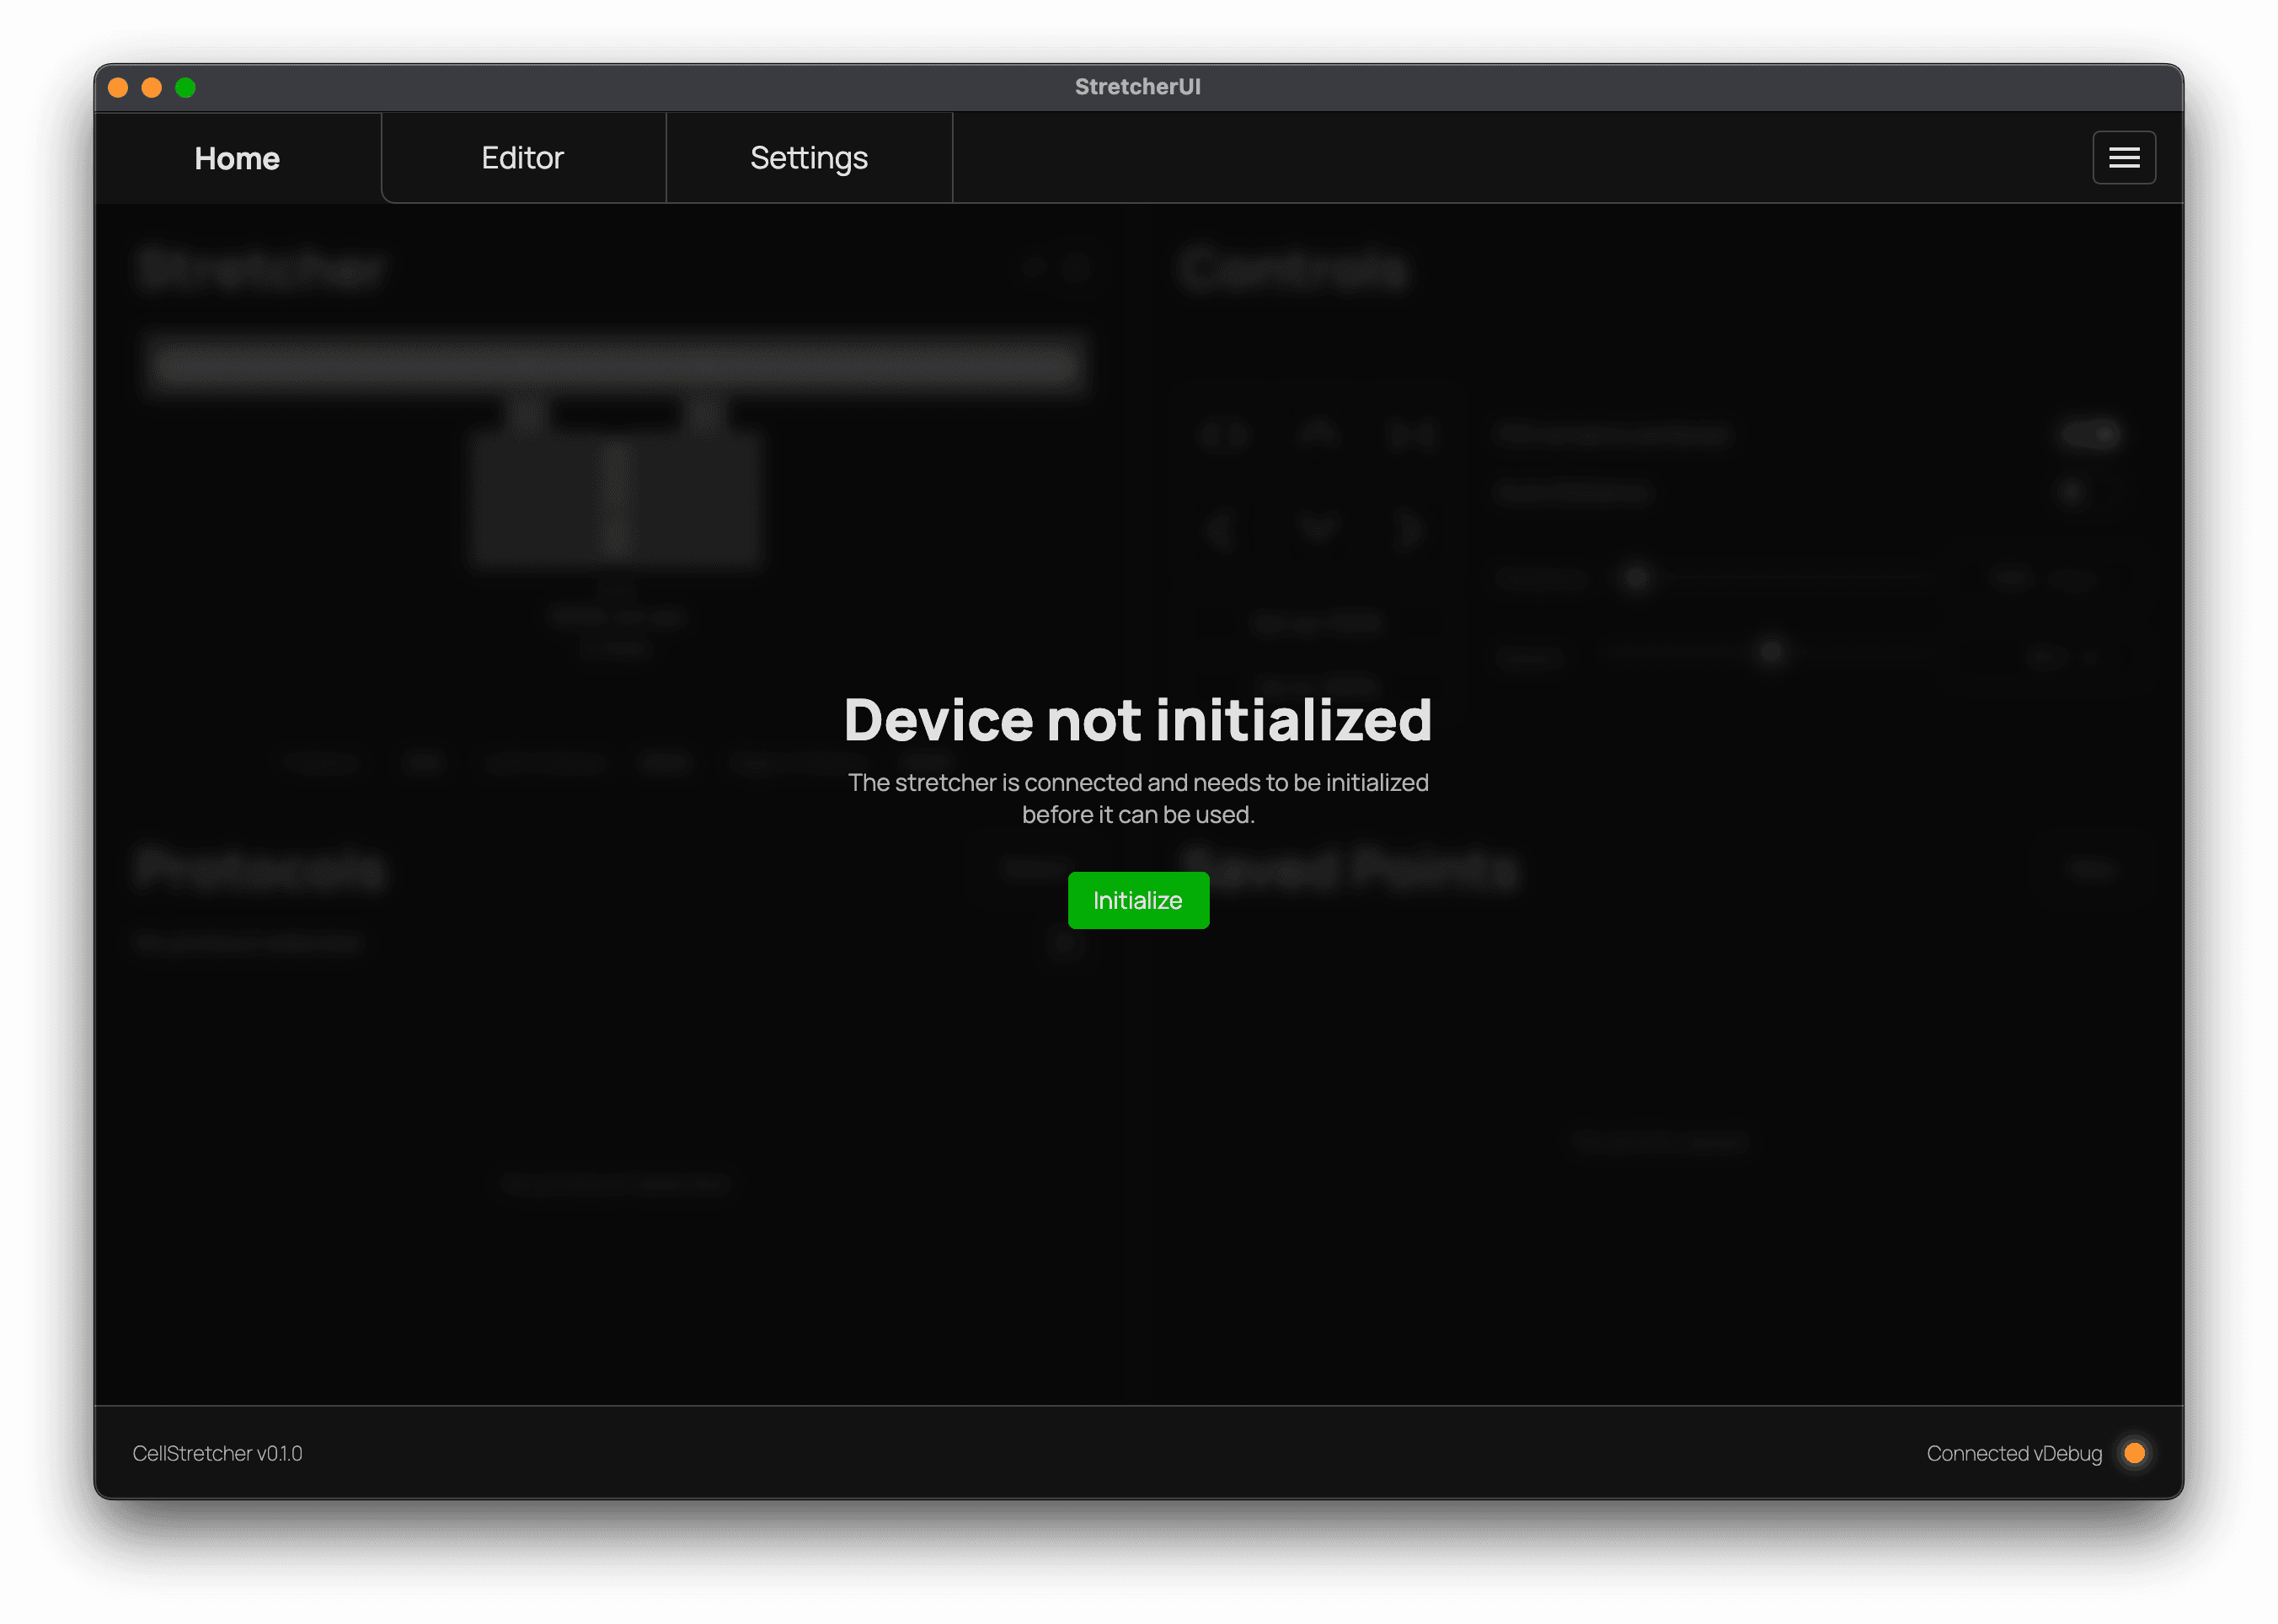
Initializing the device
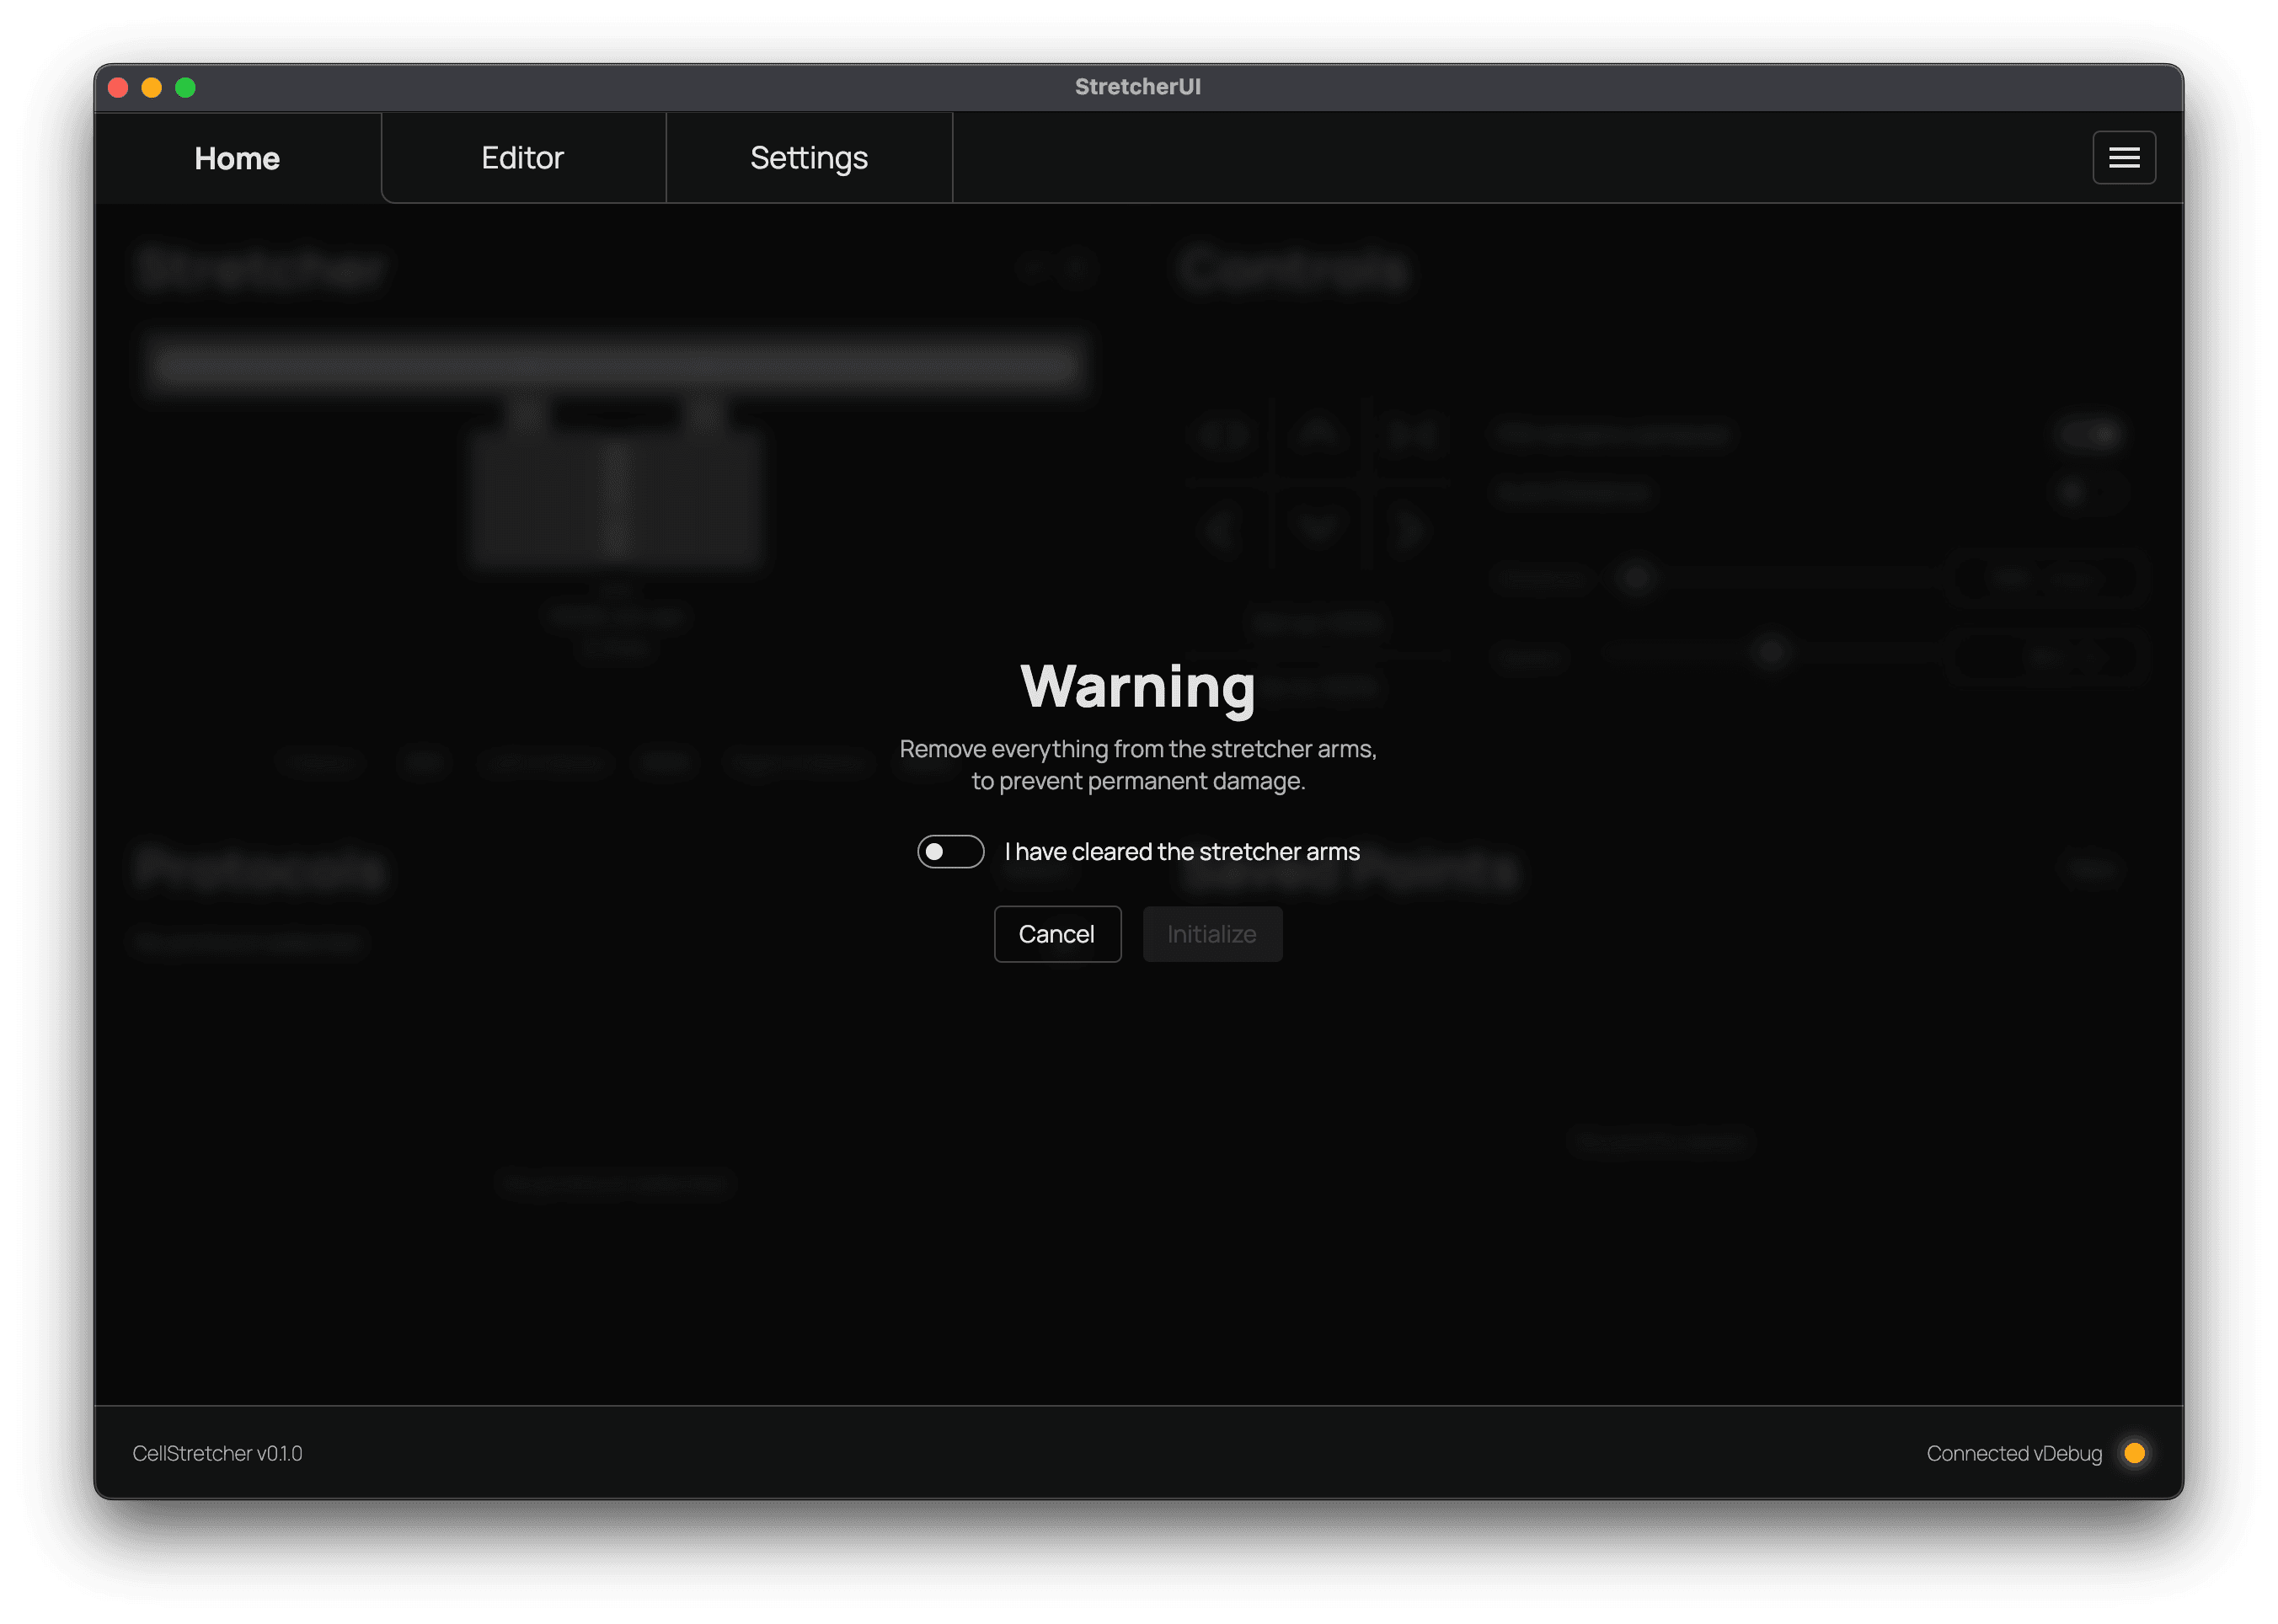
On the initialization screen, press continue. Remove everything from the stretcher arms, accept the warning, and press "initialize".
Do not accept warning dialogs without following the instructions!
The warning dialogs are built to prevent the device from permanent damage. Always follow the instructions and afterwards continue with the dialog.
After the initialization, you can decide whether to close the setup wizard and start using the device, or continue with aligning the microscope.
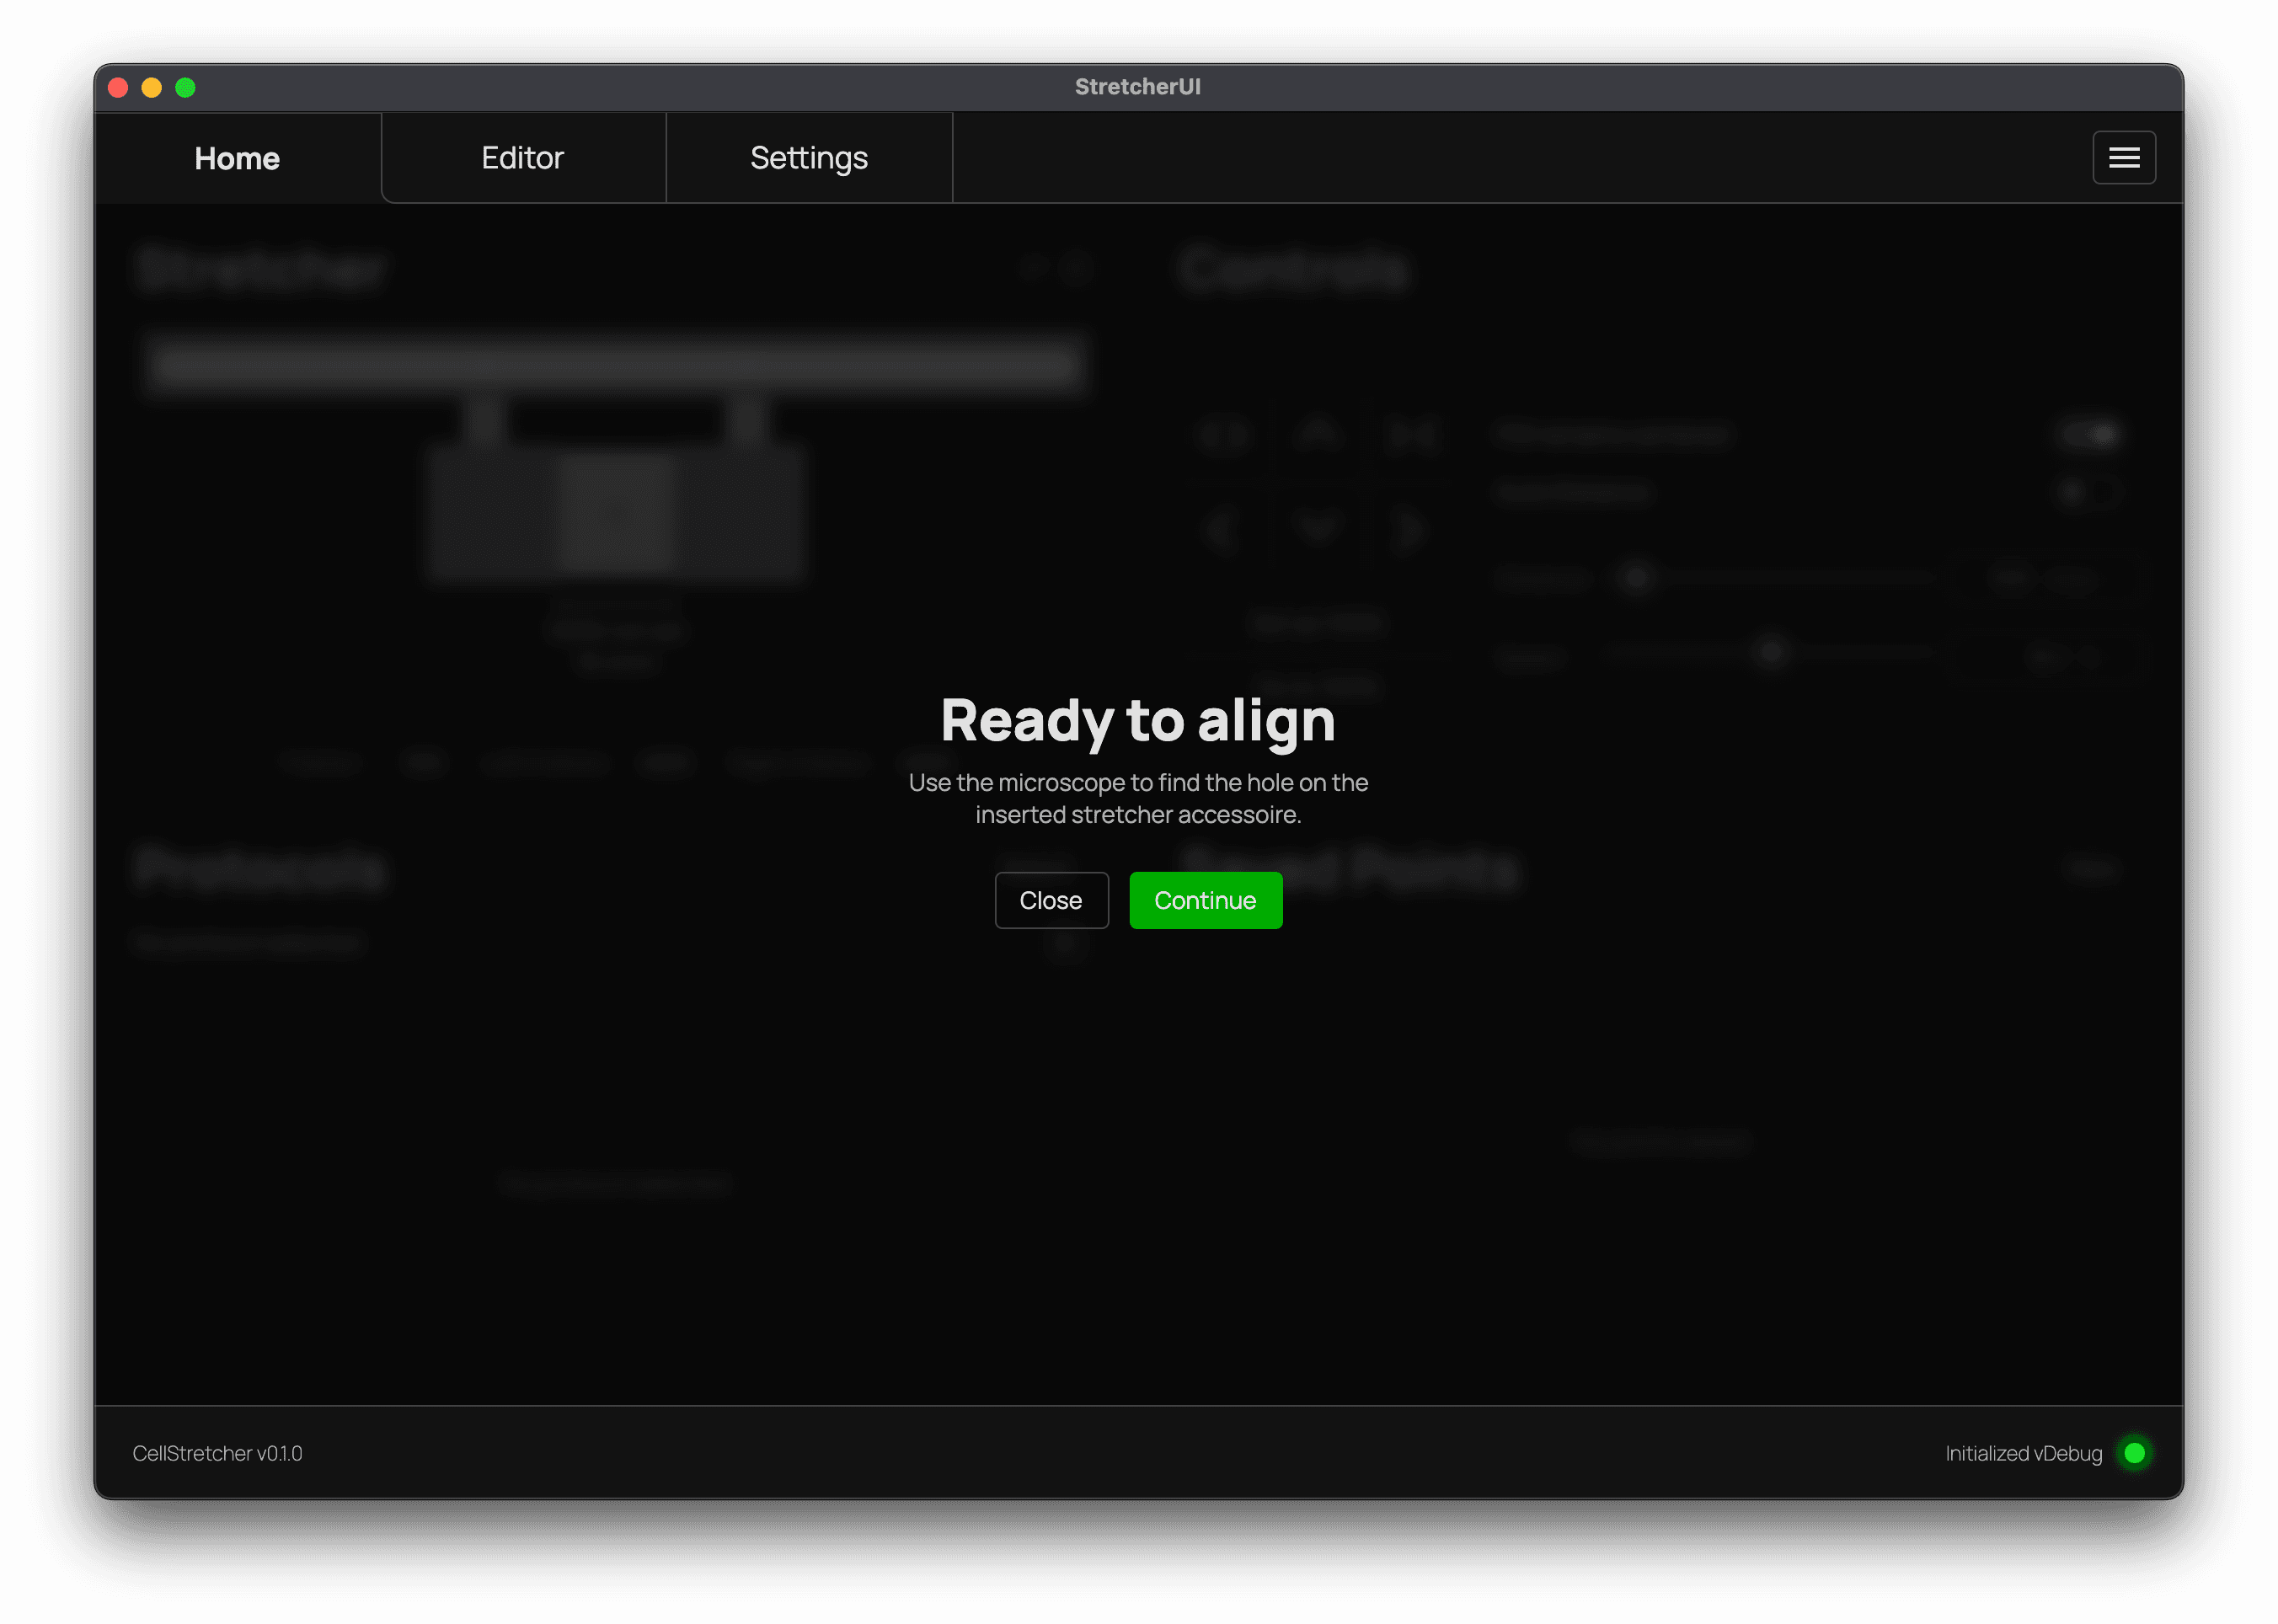
Aligning the microscope
If you prefer to align the device, insert the tool and locate the hole with the microscope. Once you have found it, press continue.
Do not use the microscope table movement beyond this point.
Since the StretcherUI software does not know when the microscope table is being moved operations like stretching with keeping a POI centered will fail if there is any movement outside of the software beyond this point.
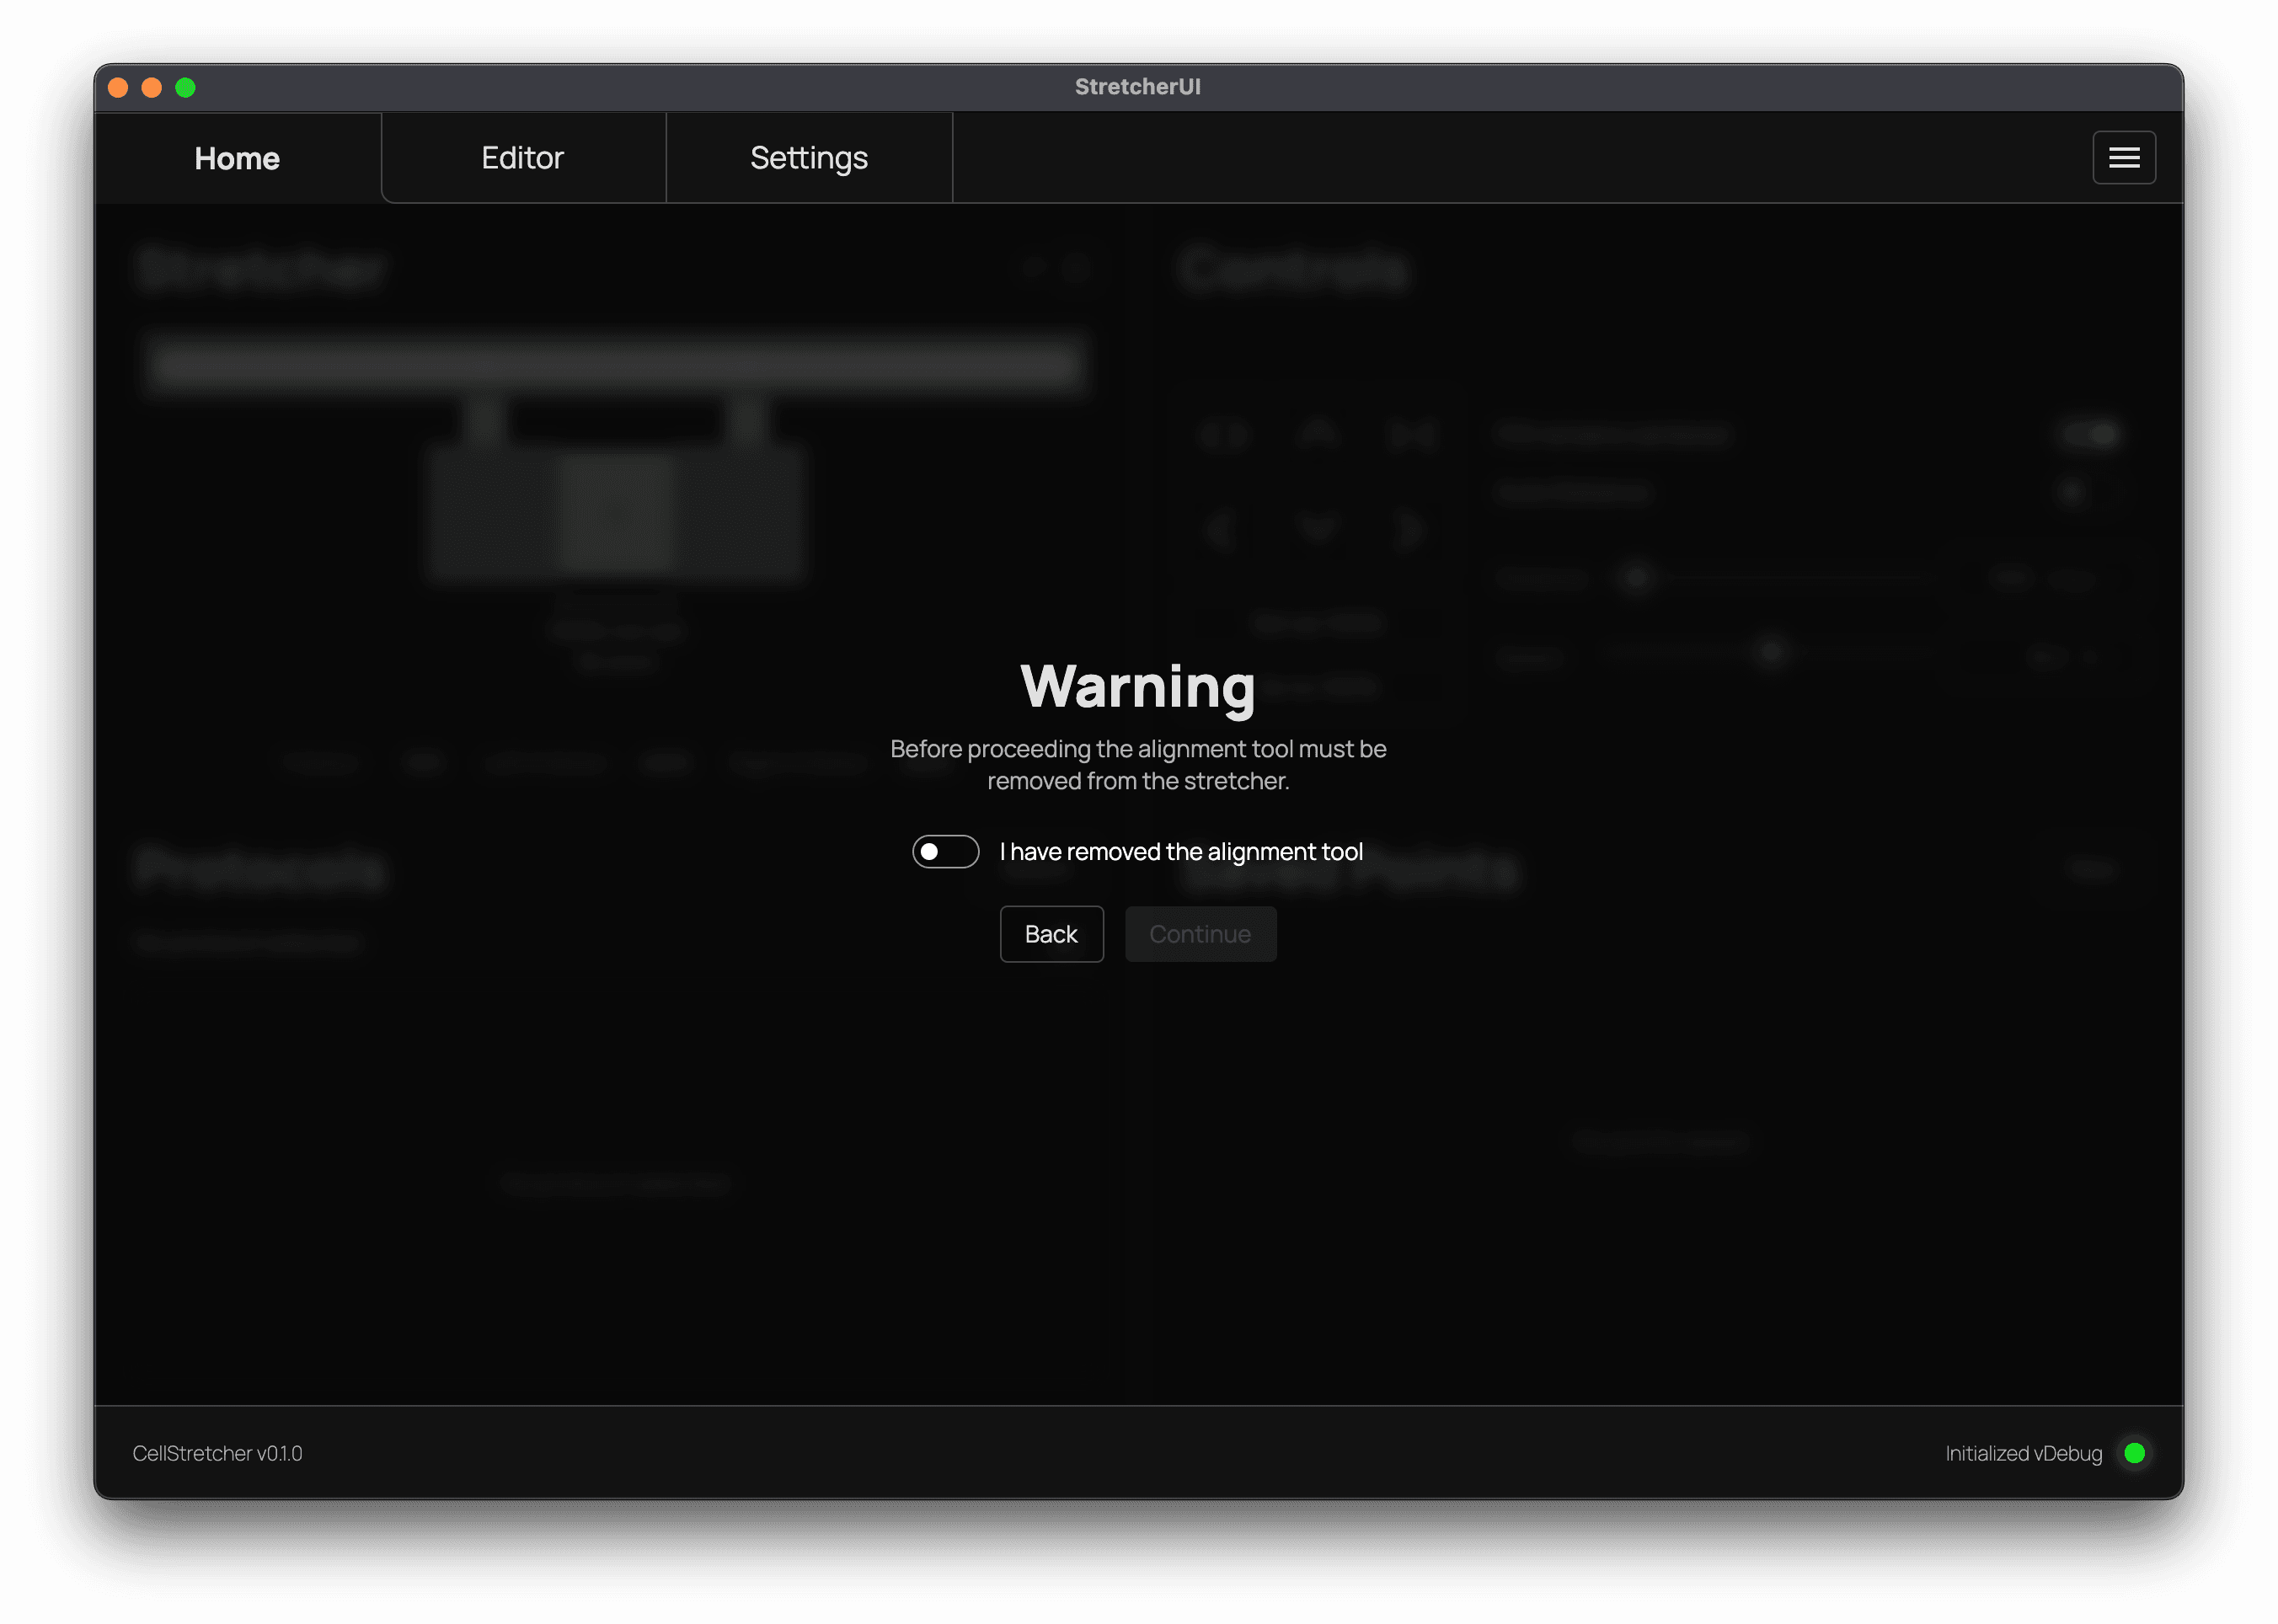
Before continuing to the membrane insertion, remove the alignment tool again, accept the dialog, and press continue.
Do not accept warning dialogs without following the instructions!
The warning dialogs are built to prevent the device from permanent damage. Always follow the instructions and afterwards continue with the dialog.
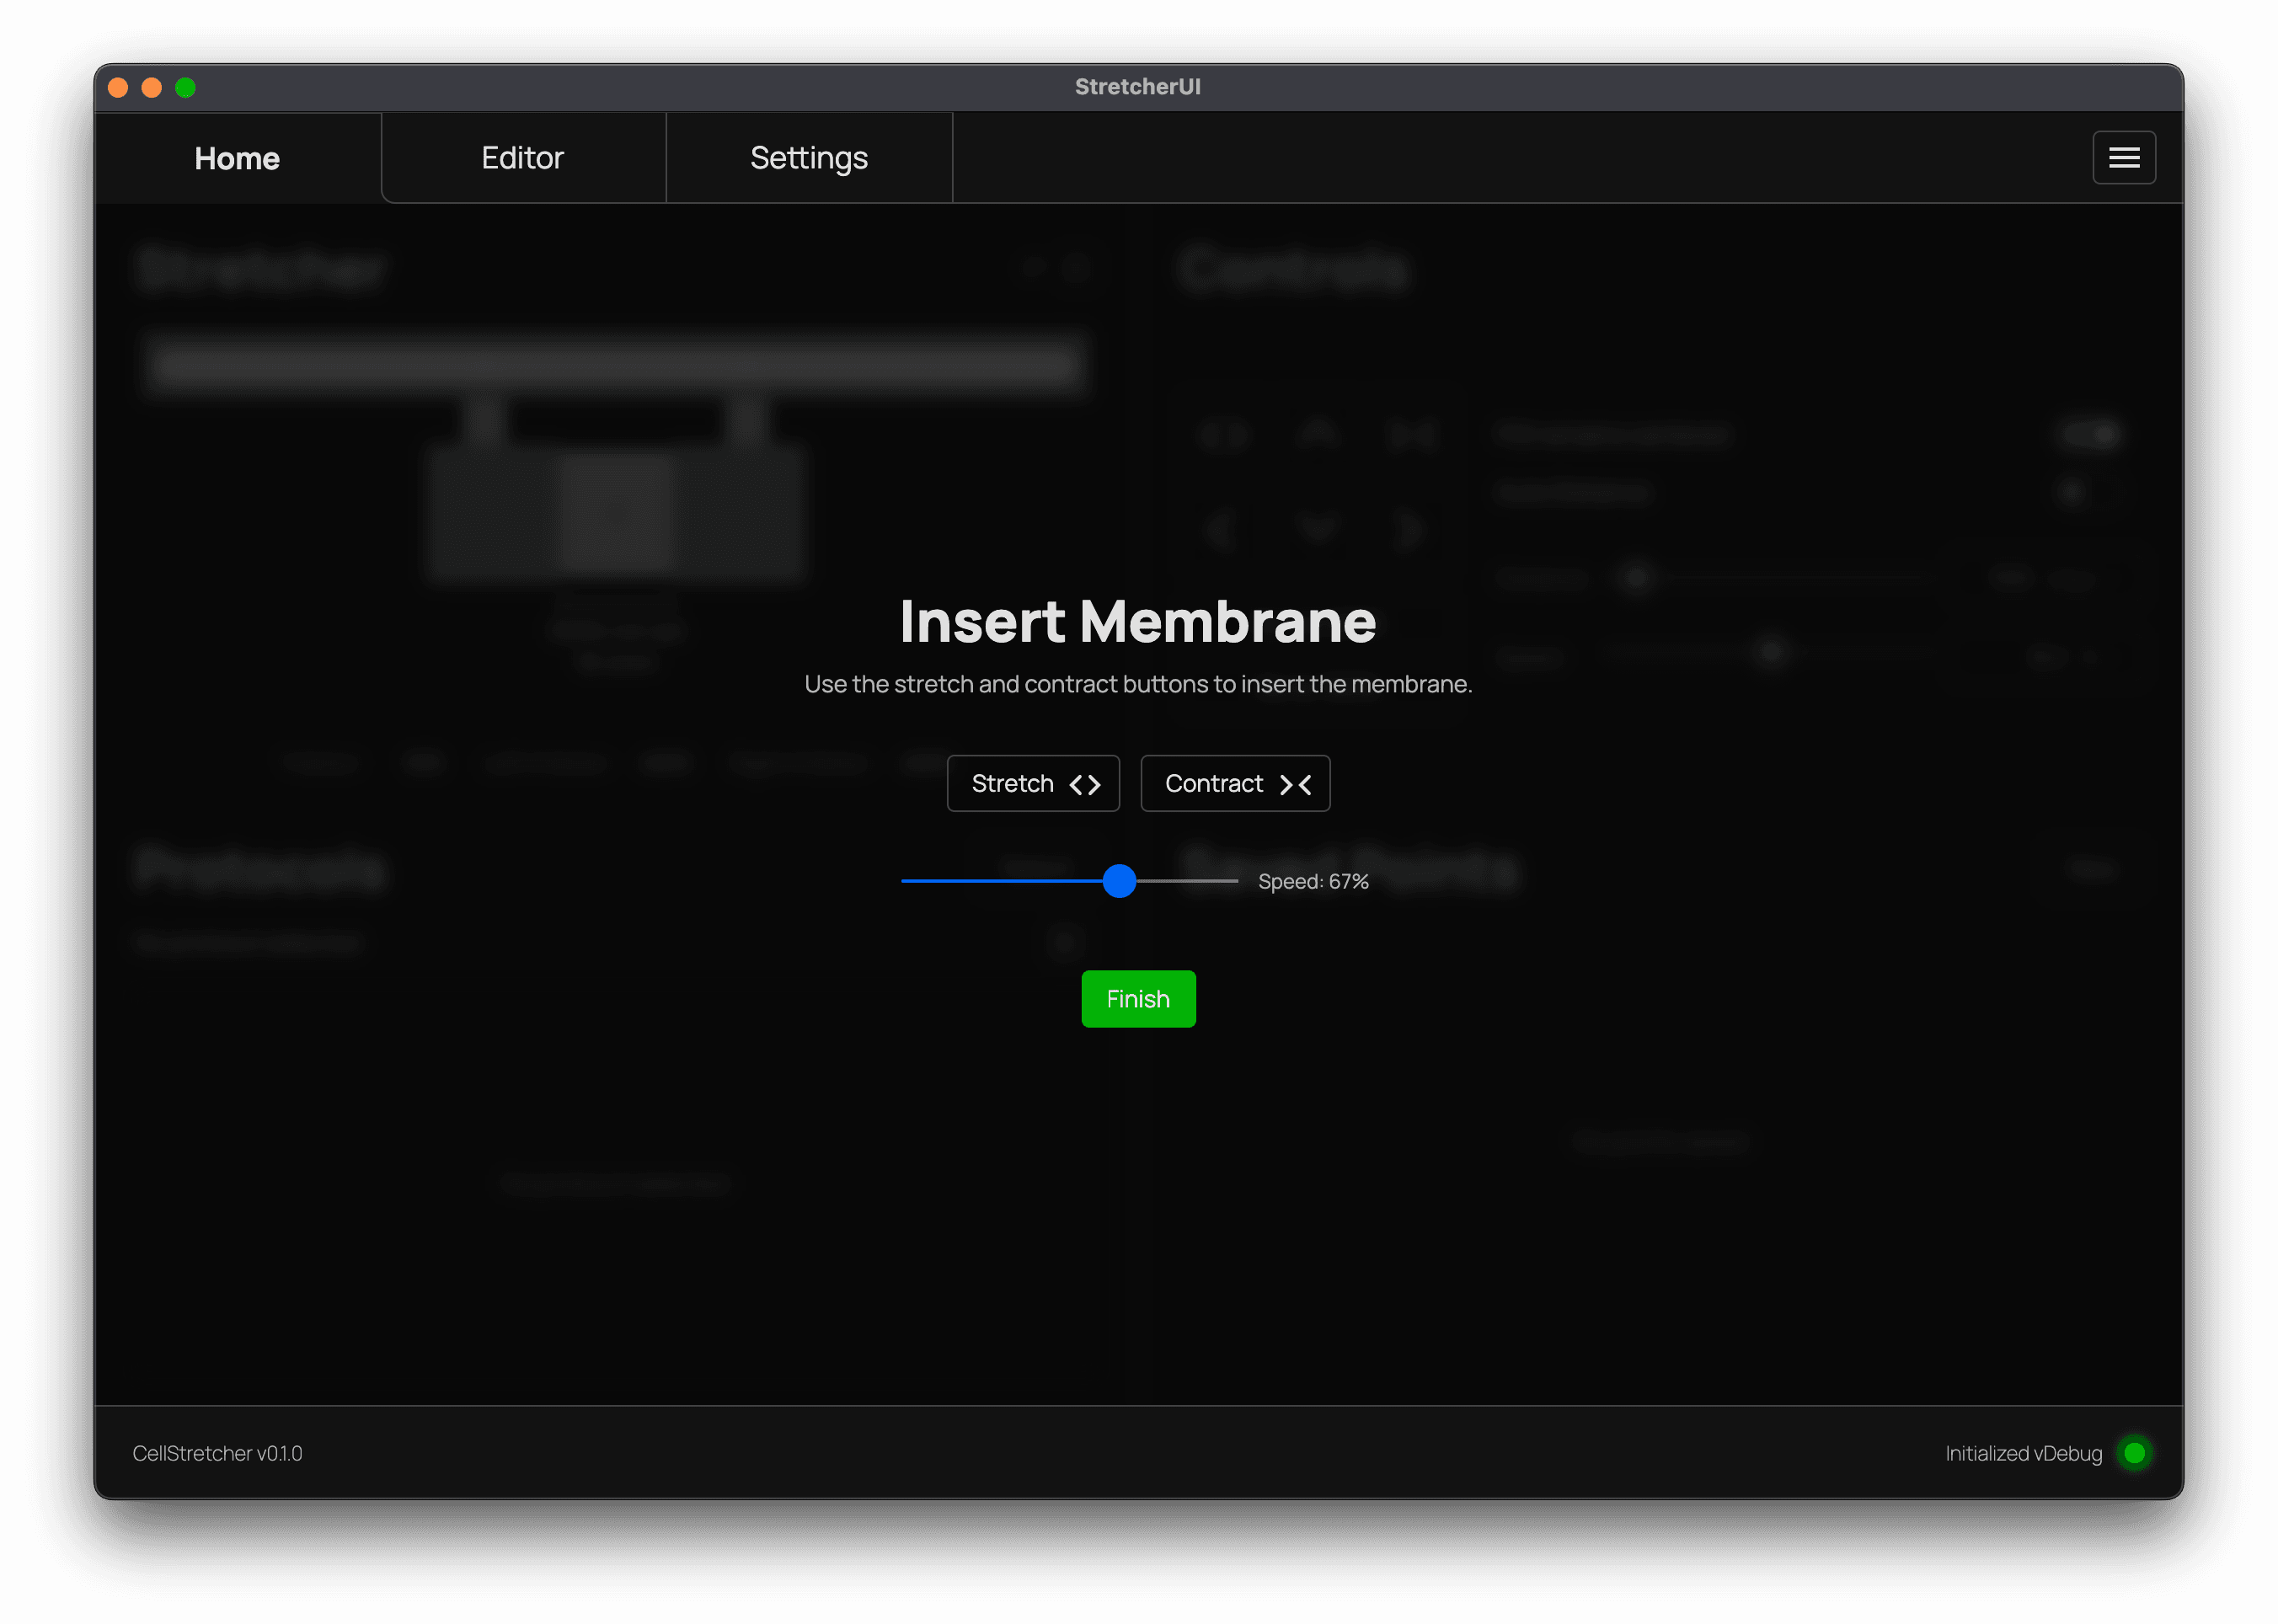
Inserting the membrane
In the last step of the wizard, you can adjust the gap between the arms to match the width of the membrane you want to insert. After inserting the membrane, press finish and the device is fully set up. The current gap between the arms is then set as 100%.
The device is now ready to use, for example for running protocols.